Local Generators
Local plugin generators provide a way to automate many tasks you regularly perform as part of your development workflow. Whether it is scaffolding out components, features, or ensuring libraries are generated and structured in a certain way, generators help you standardize these tasks in a consistent, and predictable manner.
Nx provides tooling around creating, and running custom generators from within your workspace. This guide shows you how to create, run, and customize generators within your Nx workspace.
Creating a generator
If you don't already have a local plugin, use Nx to generate one:
replace `latest` with the version that matches your Nx version
npm install @nrwl/nx-plugin@latest
nx g @nrwl/nx-plugin:plugin my-plugin
Use the Nx CLI to generate the initial files needed for your generator.
nx generate @nrwl/nx-plugin:generator my-generator --project=my-plugin
After the command is finished, the generator is created in the plugin generators folder.
happynrwl/
├── apps/
├── libs/
│   ├── my-plugin
│   │   ├── src
│   │   │   ├── generators
│   │   │   |   └── my-generator/
│   │   │   |   |    ├── generator.spec.ts
│   │   │   |   |    ├── generator.ts
│   │   │   |   |    ├── schema.d.ts
│   │   │   |   |    └── schema.json
├── nx.json
├── package.json
└── tsconfig.base.json
The generator.ts provides an entry point to the generator. The file contains a function that is called to perform manipulations on a tree that represents the file system. The schema.json provides a description of the generator, available options, validation information, and default values.
The initial generator function creates a library.
import { Tree, formatFiles, installPackagesTask } from '@nrwl/devkit';
import { libraryGenerator } from '@nrwl/workspace/generators';

export default async function (tree: Tree, schema: any) {
  await libraryGenerator(tree, { name: schema.name });
  await formatFiles(tree);
  return () => {
    installPackagesTask(tree);
  };
}
To invoke other generators, import the entry point function and run it against the tree. async/await can be used to make code with Promises read like procedural code. The generator function may return a callback function that is executed after changes to the file system have been applied.
In the schema.json file for your generator, the name is provided as a default option. The cli property is set to nx to signal that this is a generator that uses @nrwl/devkit and not @angular-devkit.
{
  "cli": "nx",
  "id": "test",
  "type": "object",
  "properties": {
    "name": {
      "type": "string",
      "description": "Library name",
      "$default": {
        "$source": "argv",
        "index": 0
      }
    }
  },
  "required": ["name"]
}
The $default object is used to read arguments from the command-line that are passed to the generator. The first argument passed to this schematic is used as the name property.
Running a generator
To run a generator, invoke the nx generate command with the name of the generator.
nx generate @myorg/my-plugin:my-generator mylib
Debugging generators
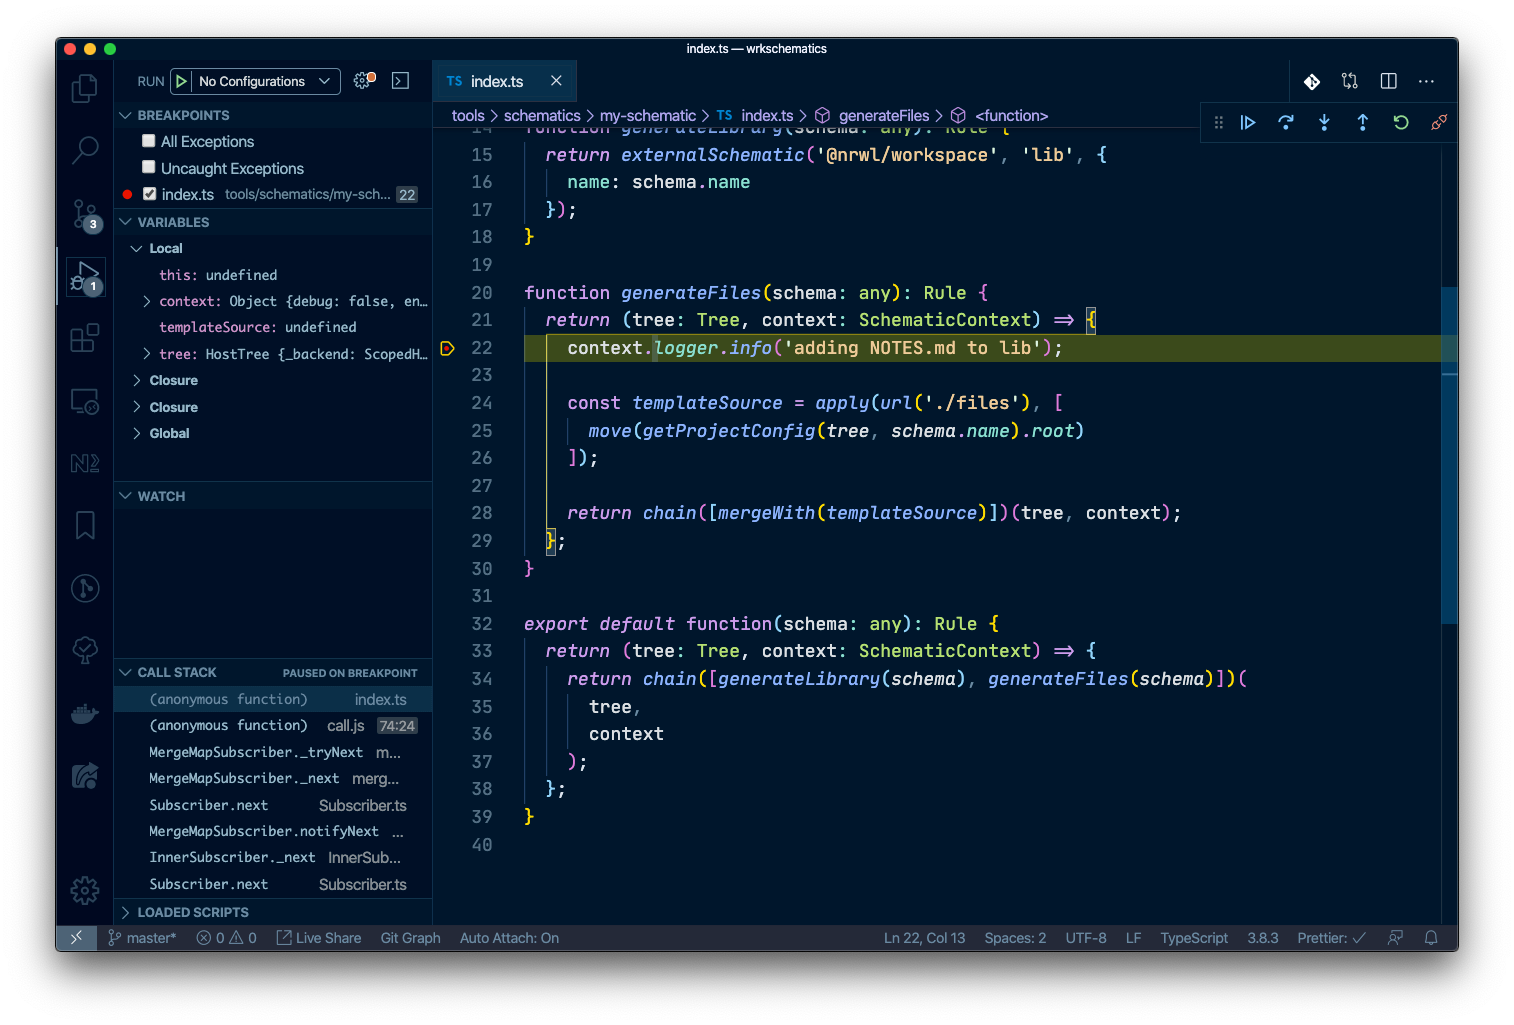
With Visual Studio Code
- Open the Command Palette and choose
Debug: Create JavaScript Debug Terminal. This will open a terminal with debugging enabled. - Set breakpoints in your code
- Run
nx g my-generatorin the debug terminal.

Generator Utilities
The @nrwl/devkit package provides many utility functions that can be used in generators to help with modifying files, reading and updating configuration files, and working with an Abstract Syntax Tree (AST).